How to Assemble and Build Your First Robot for Beginners
Are you interested in robotics but don't know where to start? Building your first robot can be a fun and rewarding experience, even for beginners. In this guide, we will walk you through the steps to assemble and build your very first robot.
Step 1: Choose a Starter Kit
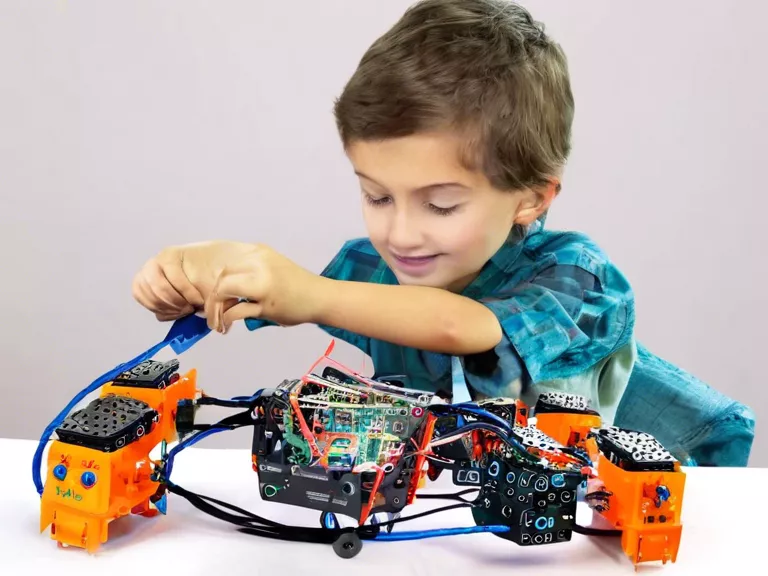
To begin your robotics journey, select a starter kit that includes all the necessary components such as a chassis, motors, wheels, sensors, and a microcontroller. Make sure the kit is beginner-friendly and comes with detailed instructions.
Step 2: Familiarize Yourself with the Components
Before you start assembling your robot, take some time to familiarize yourself with the components included in the kit. Learn about each part's function and how they work together to make the robot move and sense its surroundings.
Step 3: Follow the Instructions
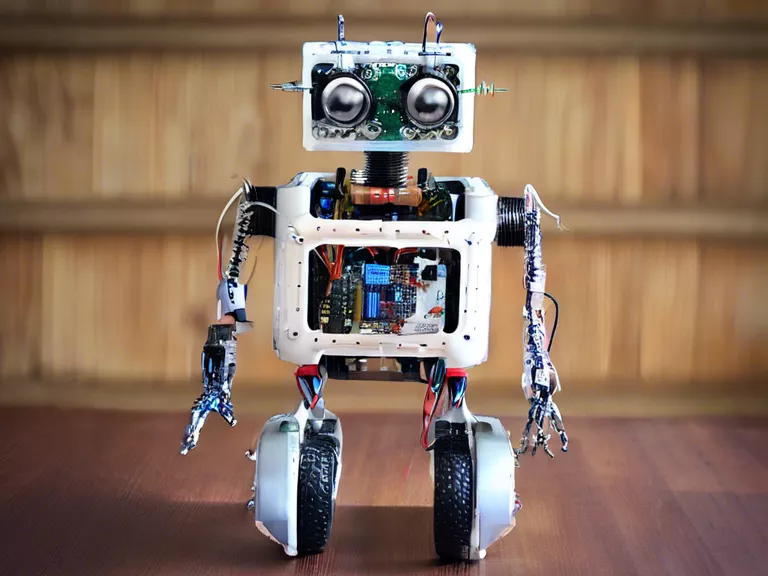
Carefully follow the step-by-step instructions provided in the kit to assemble your robot. Take your time and double-check each connection to ensure everything is correctly wired. This will help prevent any issues once you power up your robot.
Step 4: Program Your Robot
Once your robot is assembled, it's time to program it. Use a programming language like Arduino or Raspberry Pi to write code that controls the robot's movements and responses to its environment. Start with simple commands and gradually increase the complexity as you become more comfortable.
Step 5: Test and Experiment
After programming your robot, test it out in different environments to see how it performs. Experiment with different commands, sensors, and movements to improve your robot's capabilities. Don't be afraid to make mistakes – they are all part of the learning process.
Building your first robot may seem daunting at first, but with patience and perseverance, you can create a functional and exciting robot that showcases your creativity and skills.